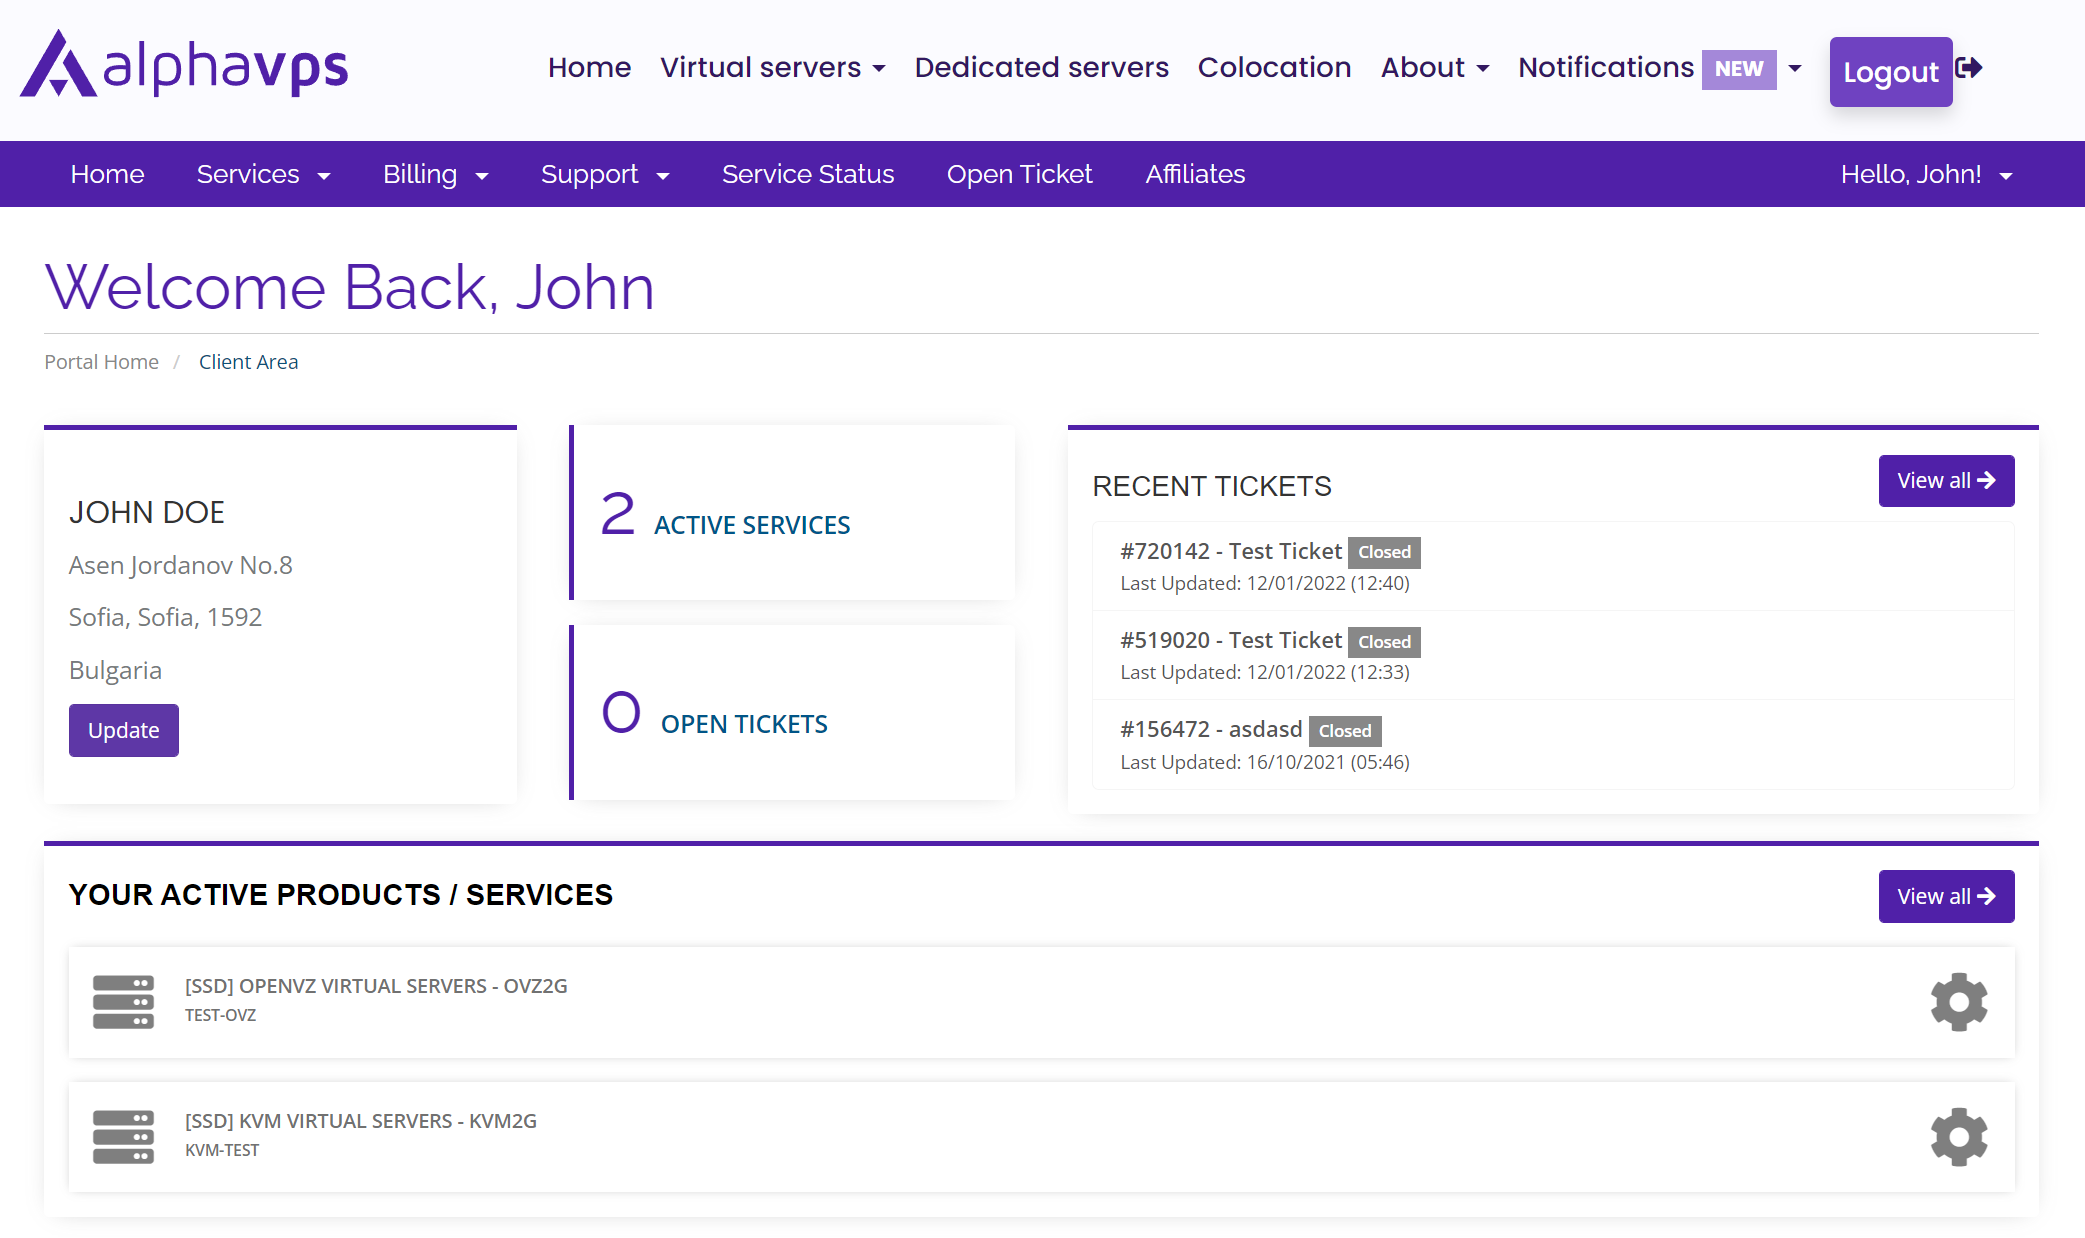
Dashboard View
OpenVZ-based VMs get automatically created by our system immediately after the payment is received for the associated order.
Once the VM is created you will get access to the service's dashboard, which is located in your client's area panel.
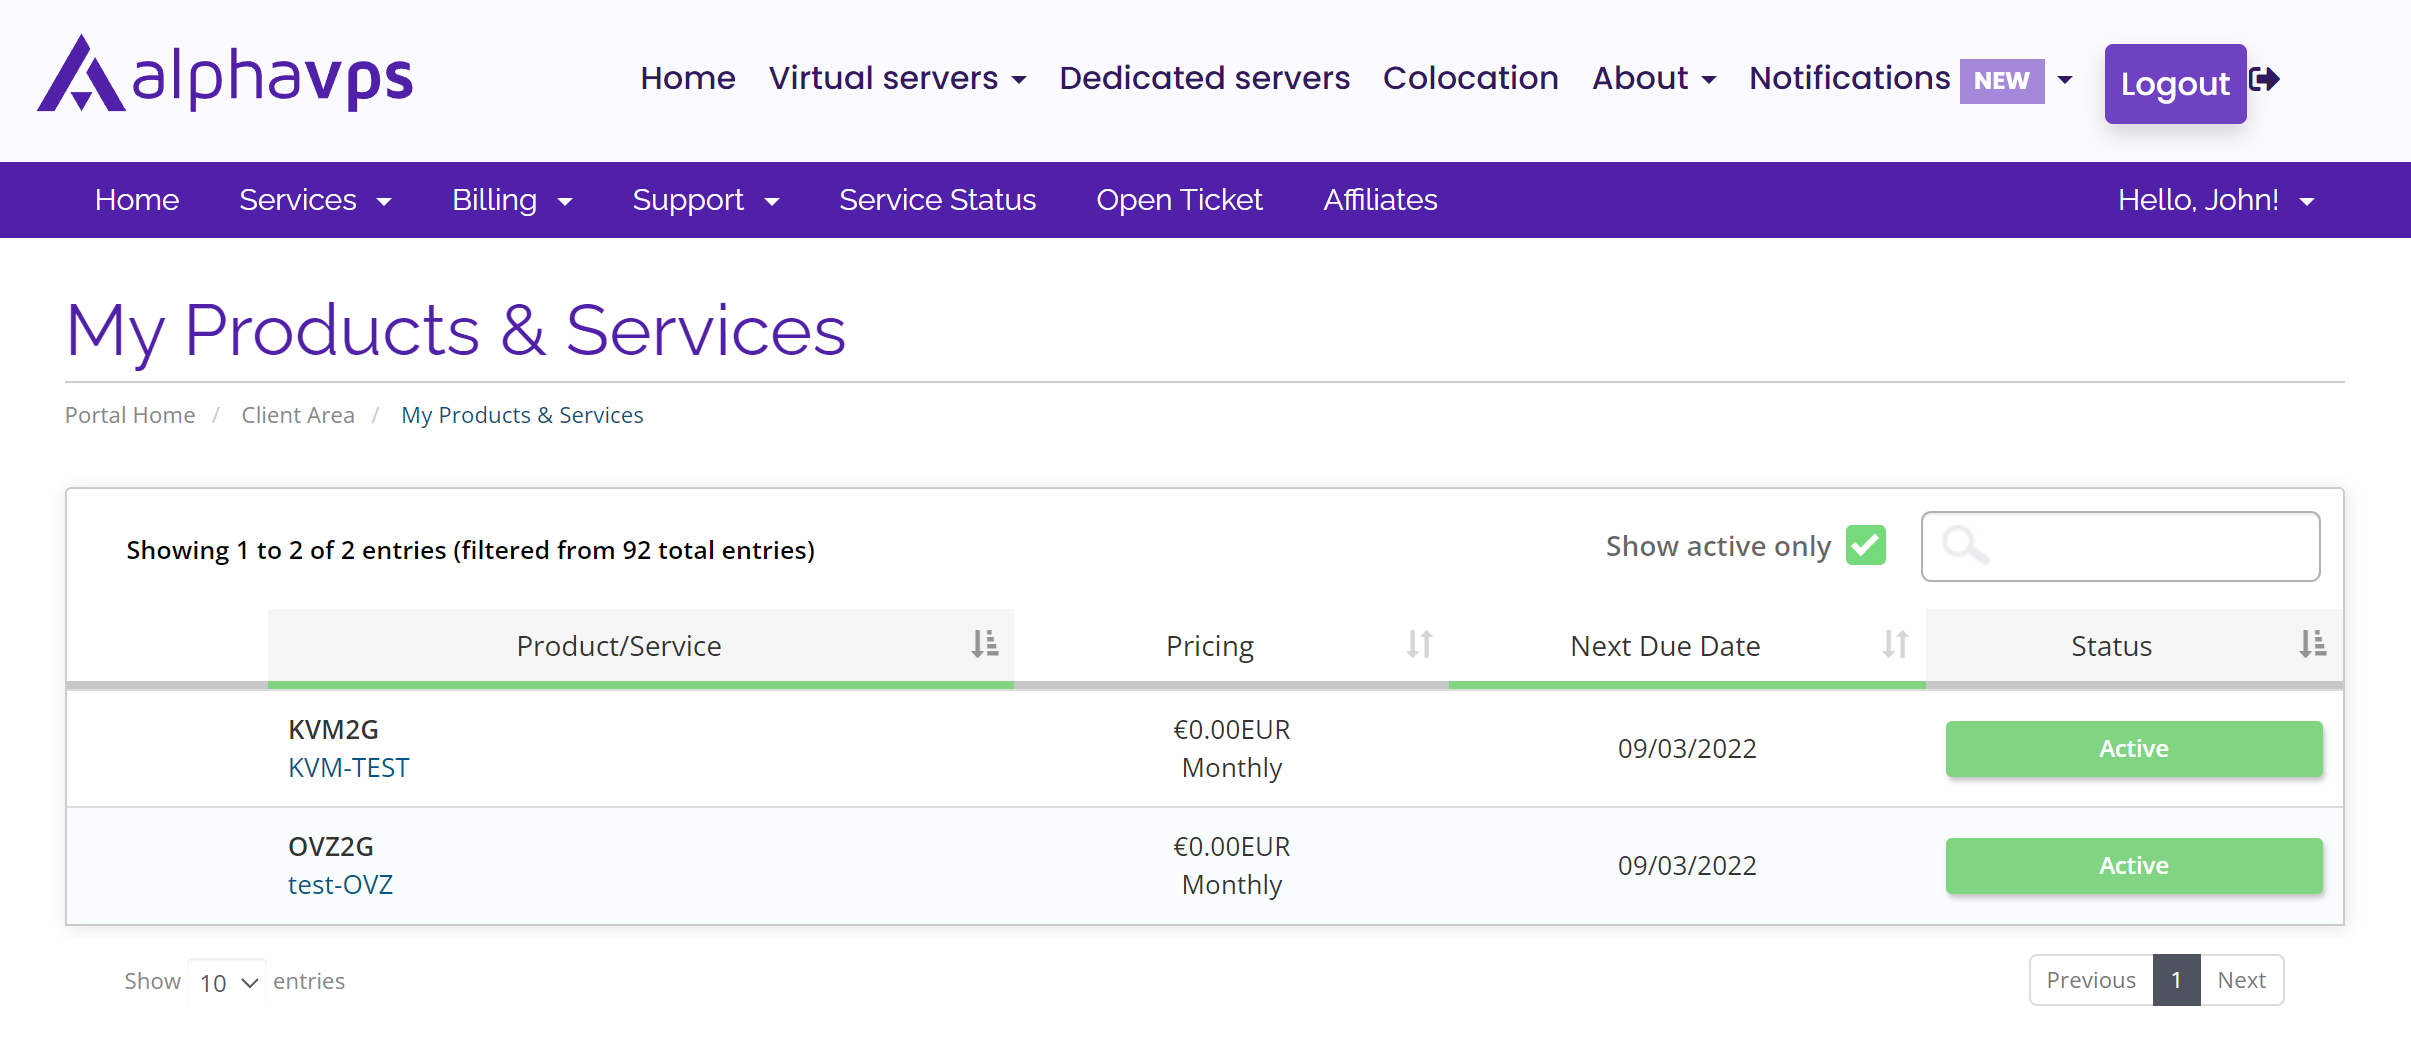
List of services
When you click on the "Active services" button you will be redirected to a list of the currently active services in your account.
You can also click directly on the VPS from the "Your active products/services" field below.
Control Panel
Click on the desired VPS and you will be redirected to its dashboard. From there you can manage the VPS - you have access to a variety of information and functions for it.
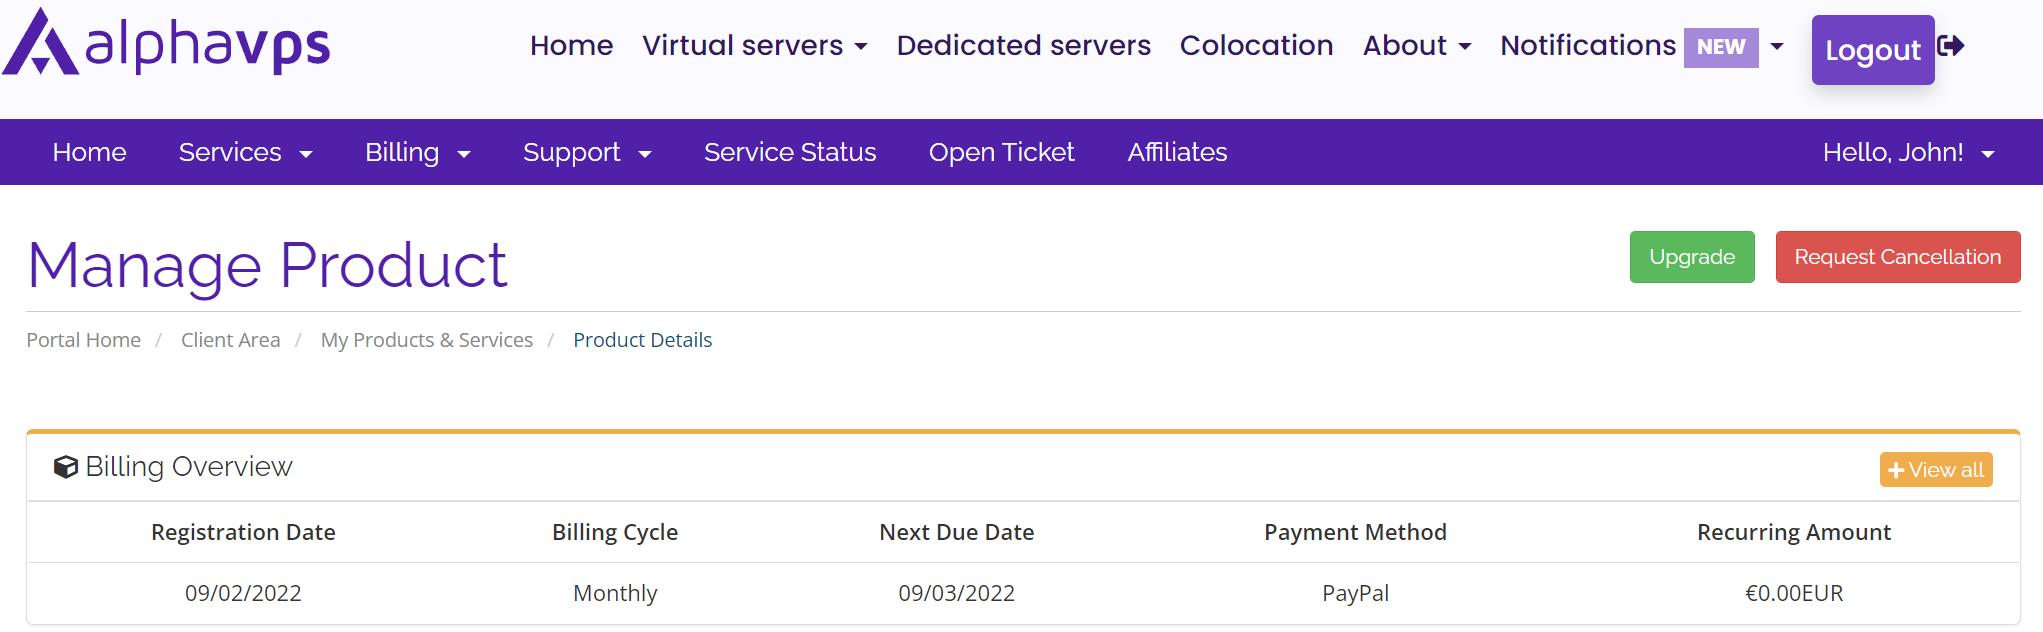

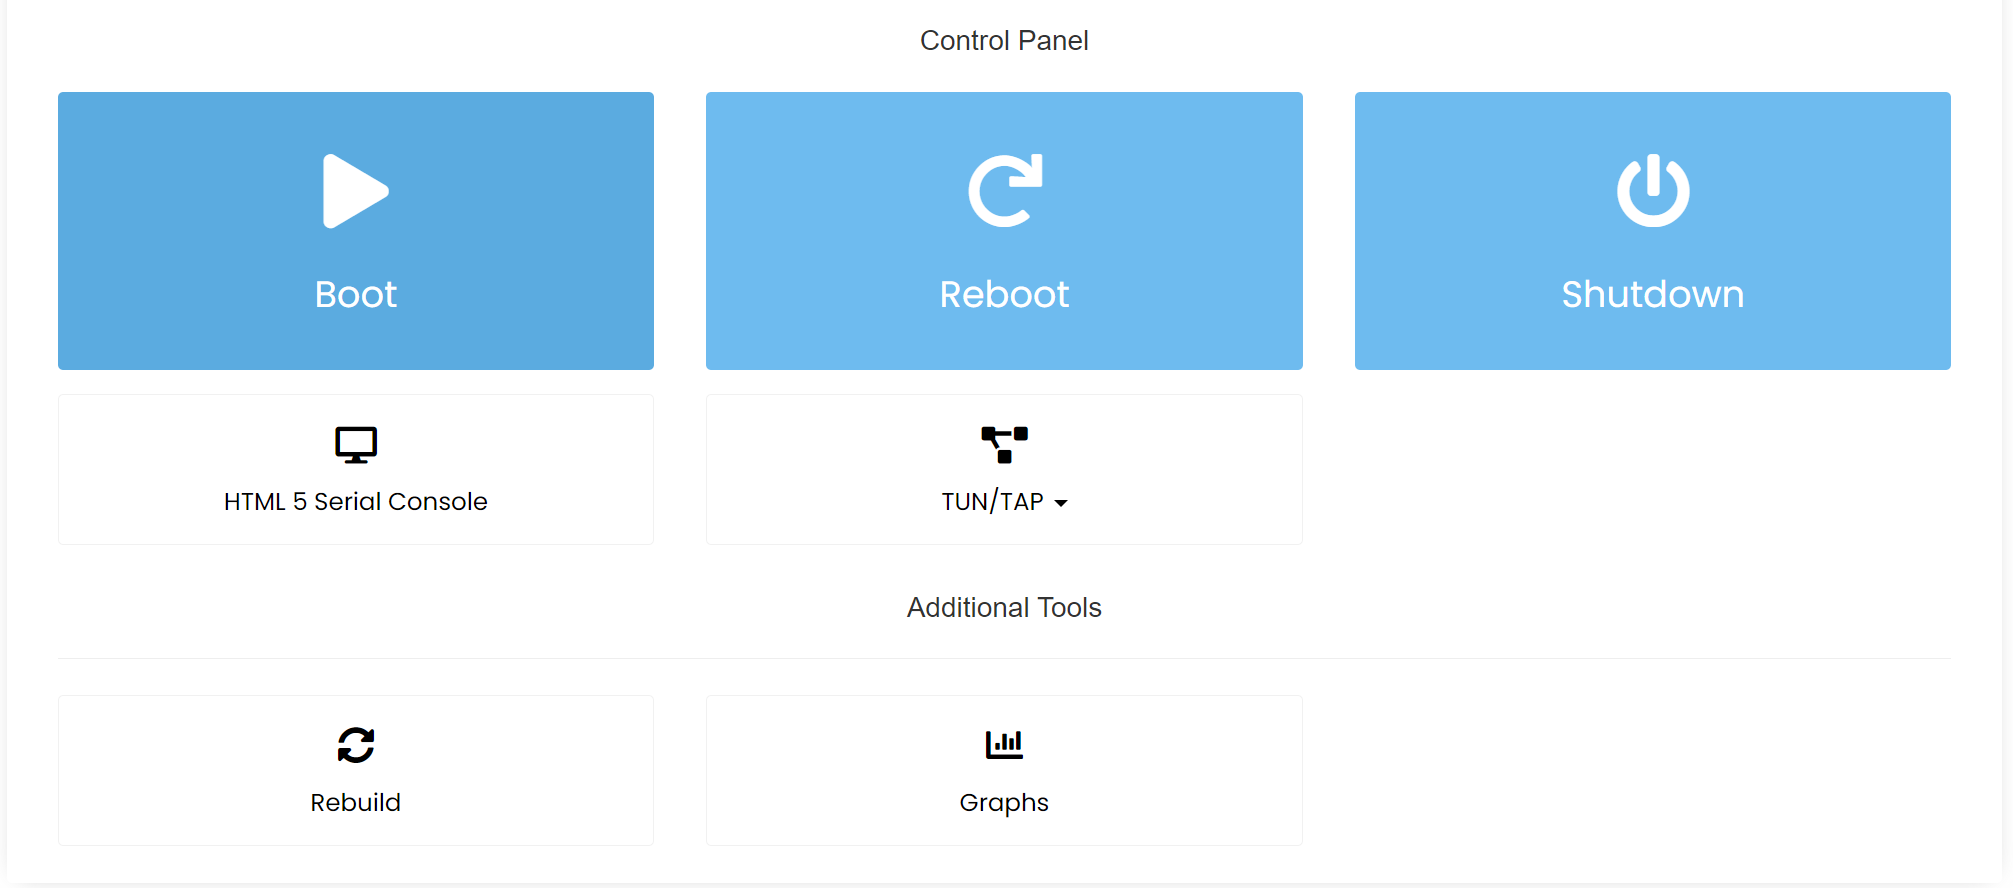
Let's take a closer look at each of the objects there. We will start at the top.
The first two visible buttons are Upgrade and Request cancellation.

From the "Upgrade" button you can submit an upgrade order for the VPS. Once the upgrade order is processed and paid, our system will automatically expand the available resource of the VPS.
From the "Request Cancellation" button you can submit a cancellation request, which will cancel the service. We highly advise contacting the support team prior to doing this. If there is any issue that bothers you, the support team will gladly hear you out and assist you.
Overdue invoice reminder is visible when the VM's associated invoice is not paid for the current billing period. You can proceed with the payment by clicking the "Pay invoice" button to the right of the field.
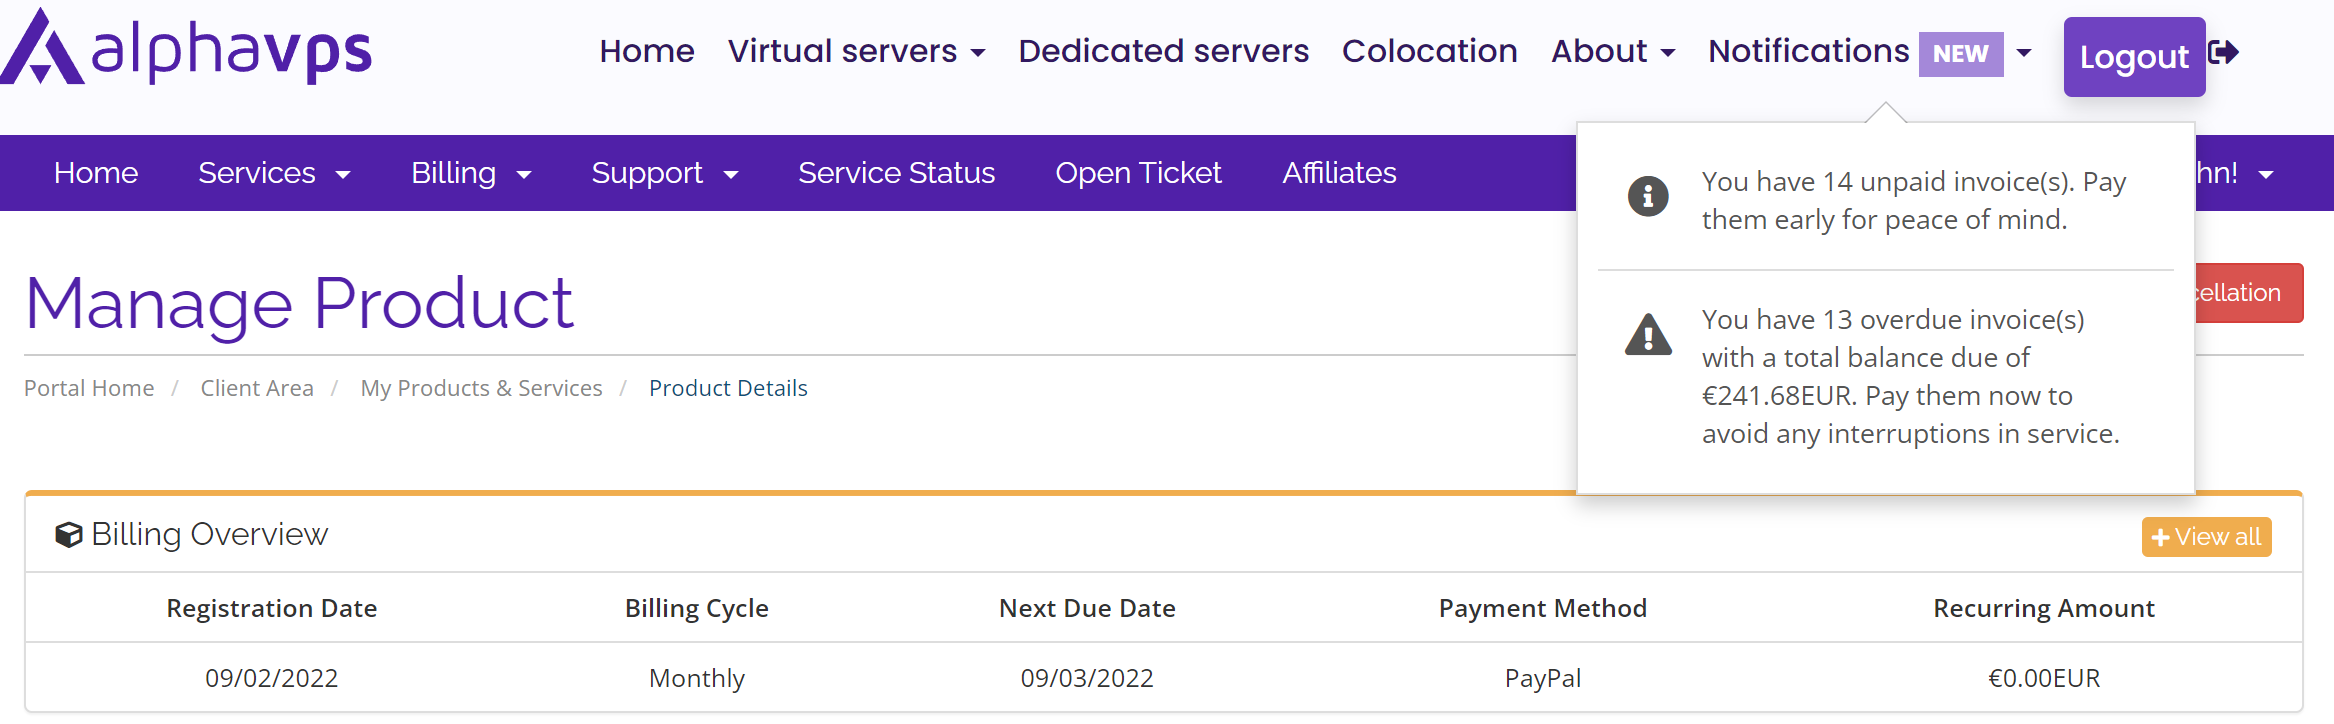
Billing Overview
You can get information regarding the VM's registration date, current billing cycle, next due date, preferred payment method, and price per billing cycle /recurring amount/.

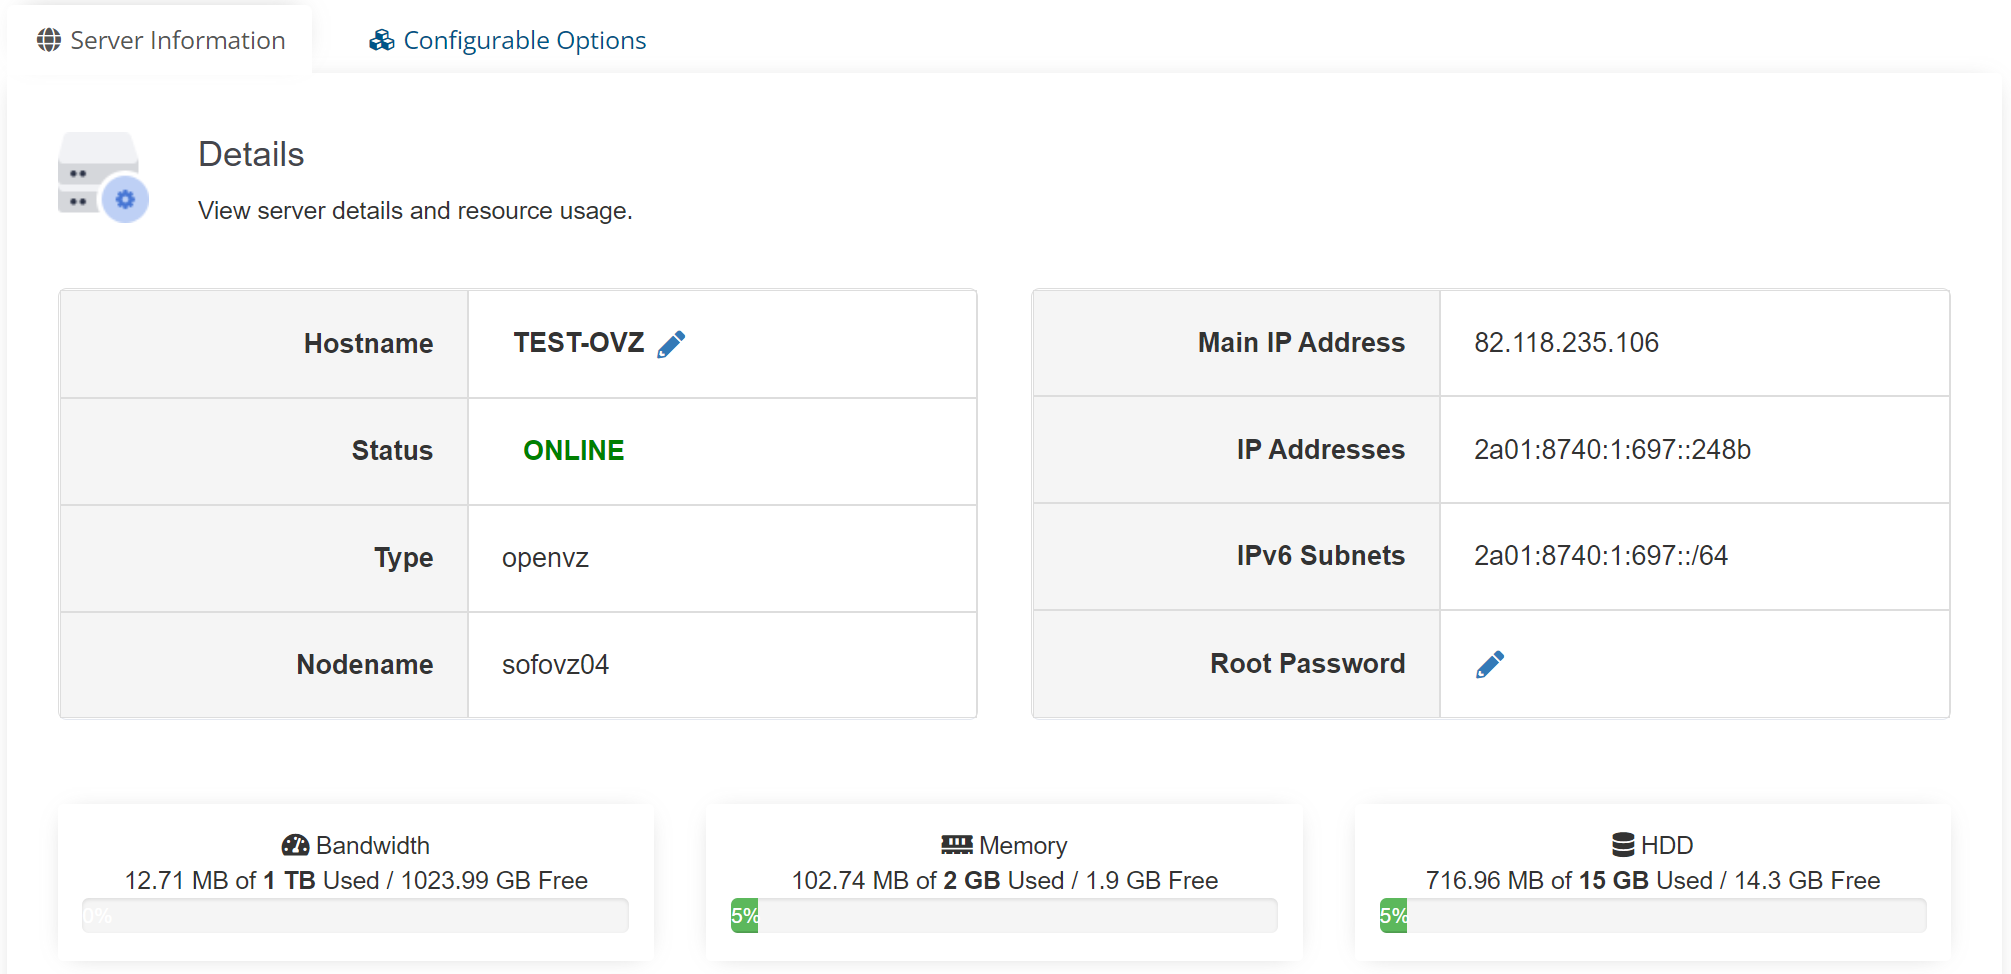
VPS Information
Here can be viewed the VM's hostname /it can be changed from the pencil icon/, current status, virtualization type, host node, on which the VM is located, Main IP address, other assigned IP addresses,
assigned IPv6 subnet, root password /the password cannot be viewed, because of security reasons, but can be changed from the pencil icon/.
Below them can be viewed bandwidth limit and usage, available RAM, and available storage space.
Boot, Reboot, and Shutdown buttons from which you can initiate these actions.

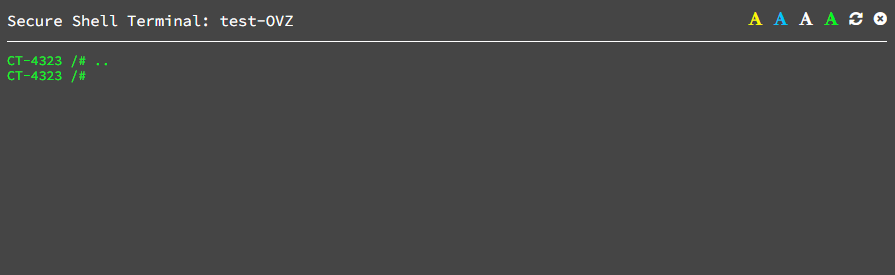
HTML5 Serial console and TUN/TAP enabling

HTML5 Serial console
The console provides out-of-band access for the VM, which is quite convenient for debugging connectivity issues.
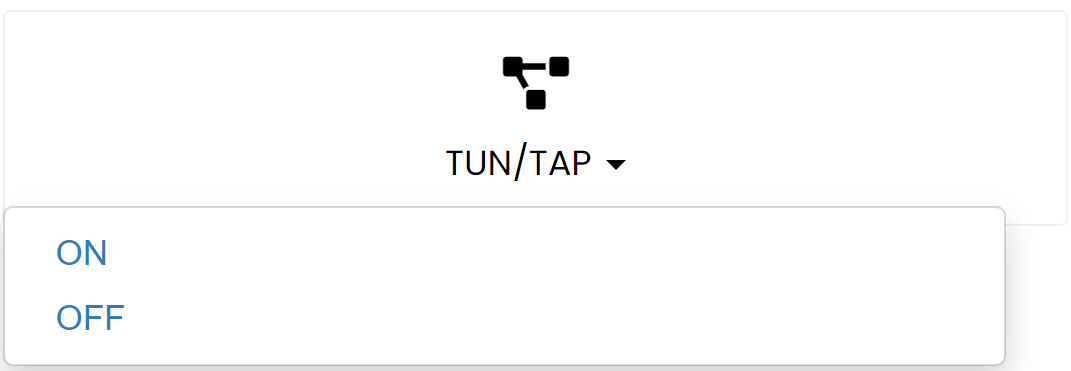
Enabling TUN/TAP
When using a VPN, a special network device is used by the system to add a tunnel (TUN) to your virtual network stack.
We have enabled this device by default on all of our OpenVZ VPS plans, however, you will need to activate it from within your VPS as well. This can be done from this button.
Additional tools

Rebuild
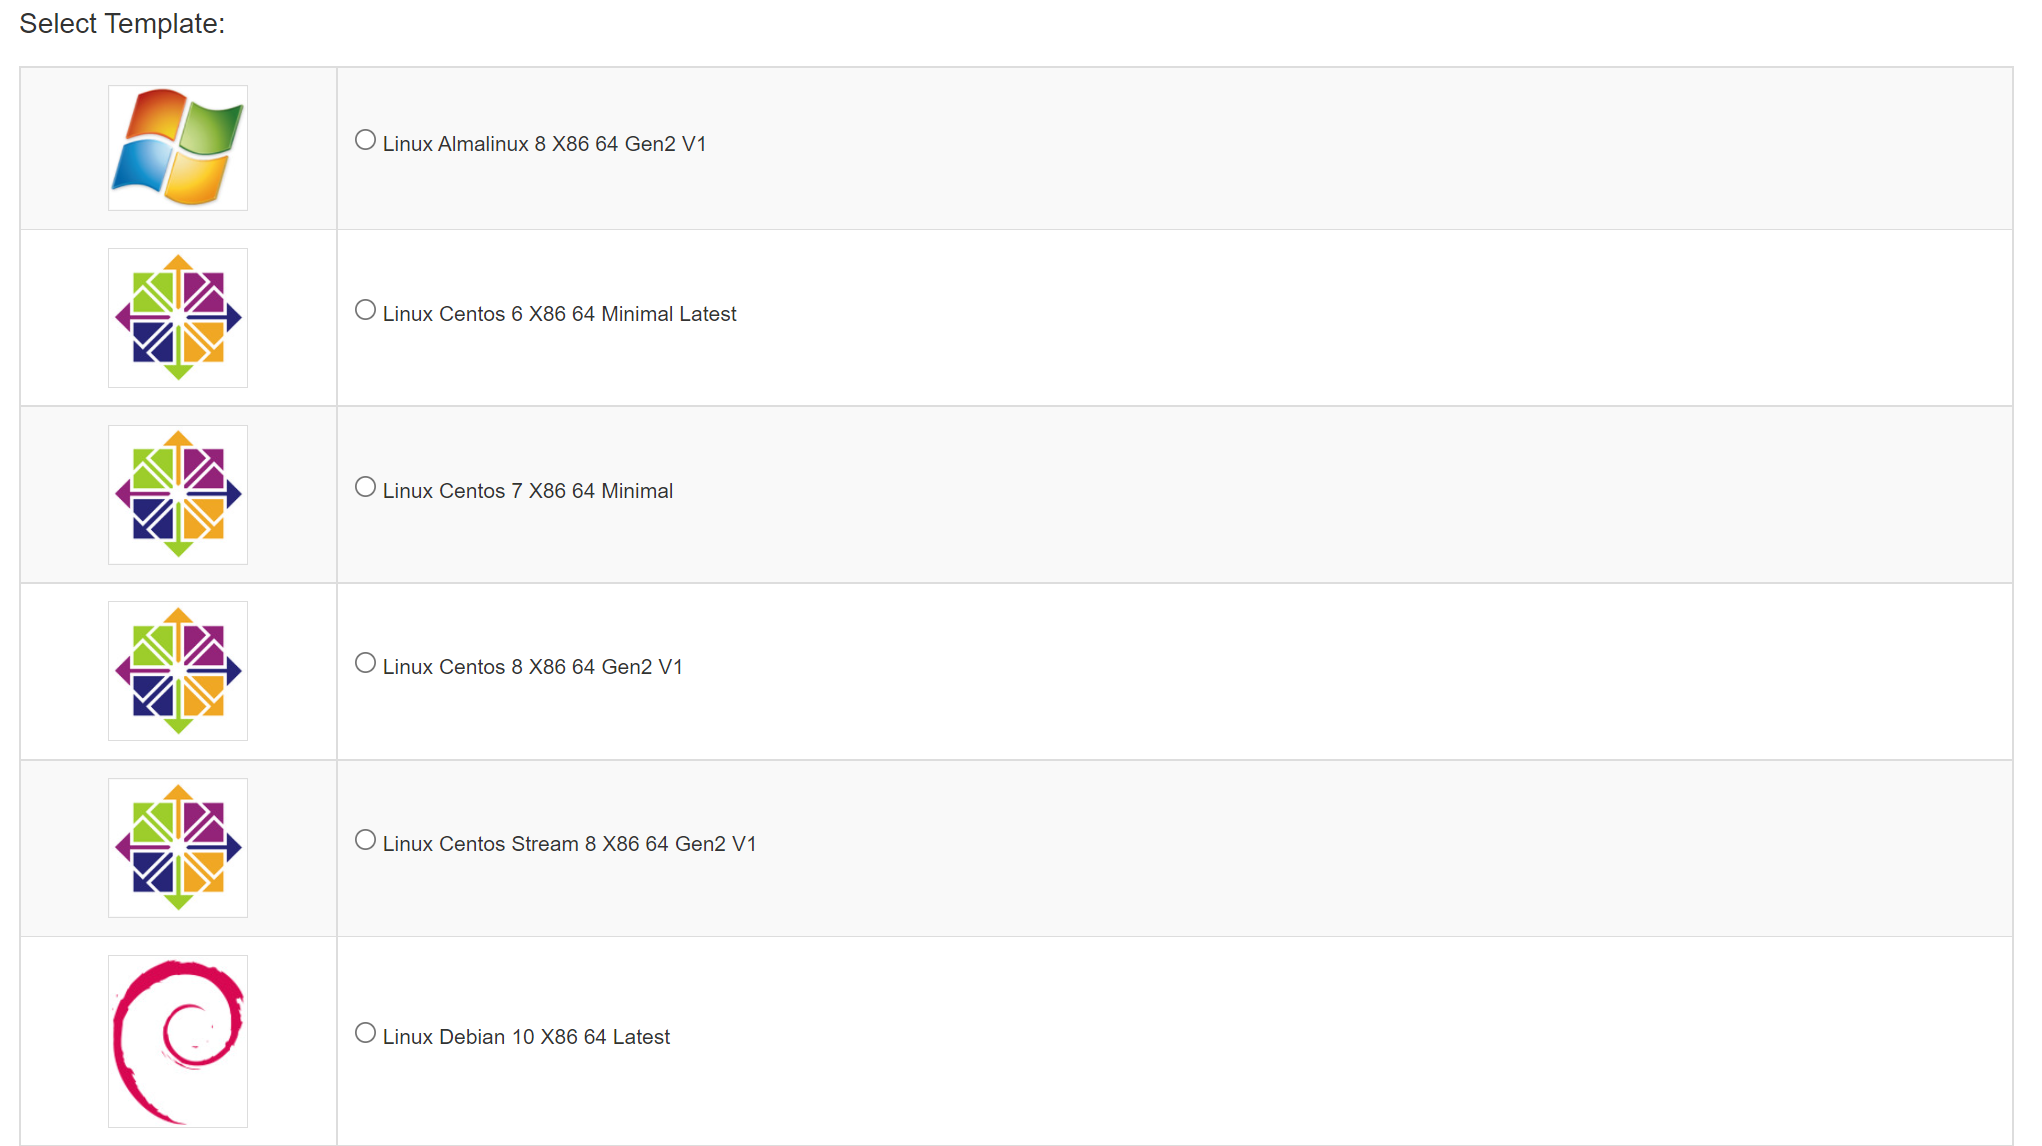
The rebuild button provides you with the ability to initiate a reinstall of your VM on your own. You can choose from a variety of Linux-based templates.
Select the desired OS and click on the rebuild button at the bottom. Make sure that you note down your new root password.
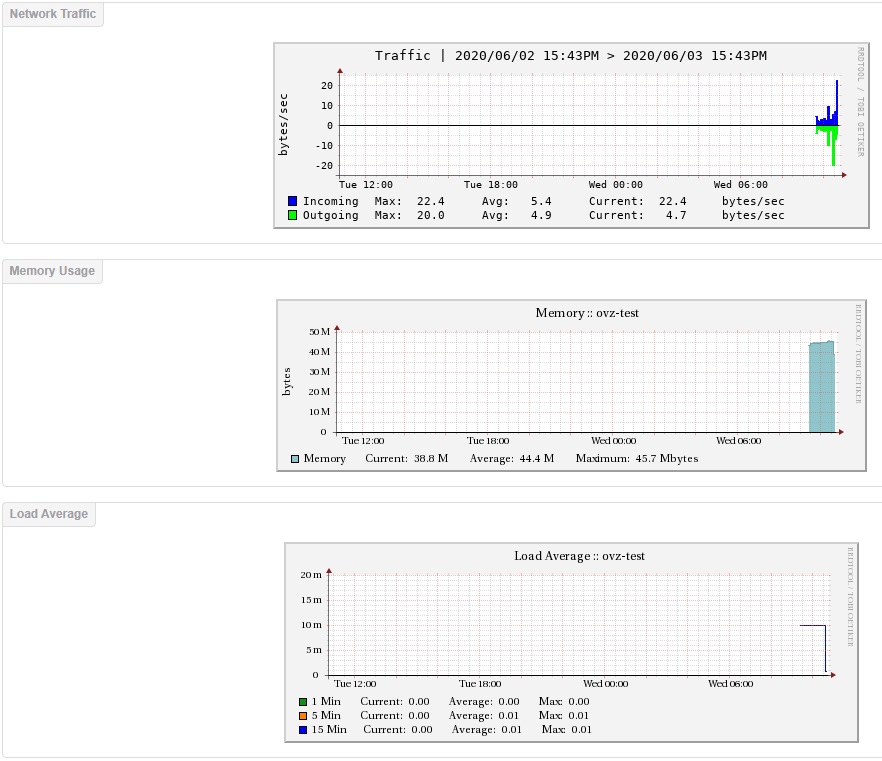
Load average, network traffic, and memory usage graph.